Configuring My Dell Precision 3440 Workstation for Web and Graphics Design
As the owner of a small web design company, I rely on Linux to handle my business needs, including web development and business administration. In this article, I’ll share my experience with my Dell Precision 3440 workstation, including its hardware specs, software applications, and usage.
Hardware Specifications
My Dell Precision 3440 workstation boasts the following hardware specs:
- Intel Core i3-10100 Processor
- Integrated Intel UHD 630 Graphics
- 16GB DDR4 RAM
- 500GB SAMSUNG 970 NVME SSD
Installed Software Applications
In addition to the standard KDE applications, I’ve installed the following software:
- Firefox browser for editing WordPress sites
- Thunderbird for email management
- Brave browser
- Gimp
Main Usage
My Dell Precision 3440 workstation is a power-efficient machine that has become my go-to PC for daily tasks. Its low power consumption makes it an ideal choice for running long webdesign sessions, and I use it to keep an eye on about a dozen business email accounts throughout the day. I’m pleased to find that CachyOS with KDE provides everything I need to get the job done.
Updating the BIOS
One important step in maintaining the performance and security of my workstation is updating the BIOS. Here’s how I did it:
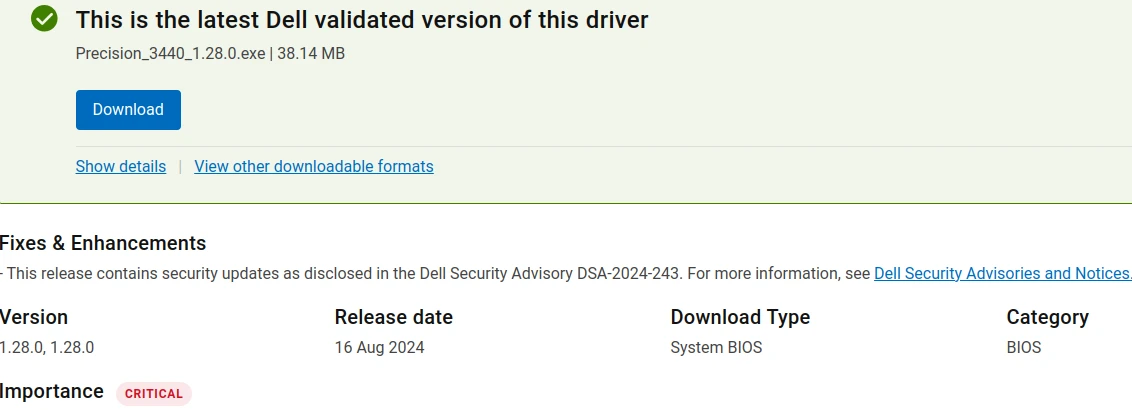
- Downloaded the latest BIOS update from Dell’s website
- The file name is: Precision_3440_1.28.0.exe
- Copied the Precision_3440_1.28.0.exe file to the USB stick.
- Restarted the PC while pressing F12 to enter the BIOS settings.
- The BIOS update utility guided me through the update process.
- Rebooted the PC
Note: Make sure to follow the instructions carefully and only update the BIOS if you’re comfortable with the process.
Installing CachyOS
Installing CachyOS on my Dell Precision 3440 workstation was a straightforward and eventless process. I simply downloaded the CachyOS ISO, created a bootable USB drive, and followed the installation prompts.
After rebooting, everything just worked as expected. I was impressed by the ease of use and customization options provided by KDE, and I was able to start using my PC right away without any need for additional configuration or troubleshooting.
To enhance the security of my workstation, I configured the Uncomplicated Firewall (UFW) to allow incoming connections on port 22. This enables me to securely transfer files between computers on the network using the OpenSSH server, which I installed as part of the setup process.
sudo pacman -S openssh
With UFW and OpenSSH in place, I can confidently share files and access my workstation remotely, while maintaining a secure connection.
Configuring My Development Environment
I started by configuring Kate, Kwrite, and Konsole to use the Meslo font instead of the default font. I also set the theme for Kate and Kwrite to Ayu Dark, which provides a clean and distraction-free interface for coding and writing.
To further optimize my workflow, I added a second workspace to my KDE setup. This allows me to run Thunderbird in the background, keeping my email notifications out of sight and minimizing distractions. With this setup, I can stay focused on editing websites in my primary workspace, while still being able to quickly check my email if needed.
Additionally, I went through Brave’s and Firefox’s settings to disable and remove everything I don’t need or want. This included disabling telemetry, removing unnecessary features, and configuring the browsers for the fastest possible performance.
With these few simple steps, I was able to customize my development environment to my liking and start working on my projects right away.
Password-Protecting Files with KDE
For CachyOS users who need to password-protect files, the package p7zip needs to be installed. To install p7zip, run the following command in the terminal:
sudo pacman -S p7zip
How to password-protect a file:
- Go to Dolphin > Compress > Compress to
- Select 7-zip archive as the file type
- Enter a password to protect your files
This will create a password-protected archive of your files, ensuring they are secure and protected from unauthorized access.
Final Thoughts
In conclusion, my Dell Precision 3440 workstation has been a great addition to my web design business. With its powerful hardware specs, user-friendly software applications, and ease of maintenance, it’s been a reliable and efficient tool for my daily tasks. I hope this article has provided valuable insights into my experience with Linux and the Dell Precision 3440 workstation.